CSS Syntax
Free Web development courses with real-time projects Start Now!!
CSS, or Cascading Style Sheets, is a language used to control the presentation of HTML and XML documents. It defines the layout, colors, and other visual elements of a webpage. The basic syntax of CSS consists of selectors and declaration blocks. The selector specifies which HTML elements the styles will be applied to, and the declaration block contains the styles themselves. The declaration block is enclosed in curly braces {} and each declaration is made up of a property and a value, separated by a colon.
Properties
The properties define the different visual elements that can be modified, such as color or font size, and the values specify how those elements should be modified.
Here’s an example of a basic CSS rule:
HTML Code
<html>

<body>
  <h1>Welcome to DataFlair</h1>
</body>

</html>
CSS Code
h1 {
    color: blue;
    font-size: 24px;
}
Output
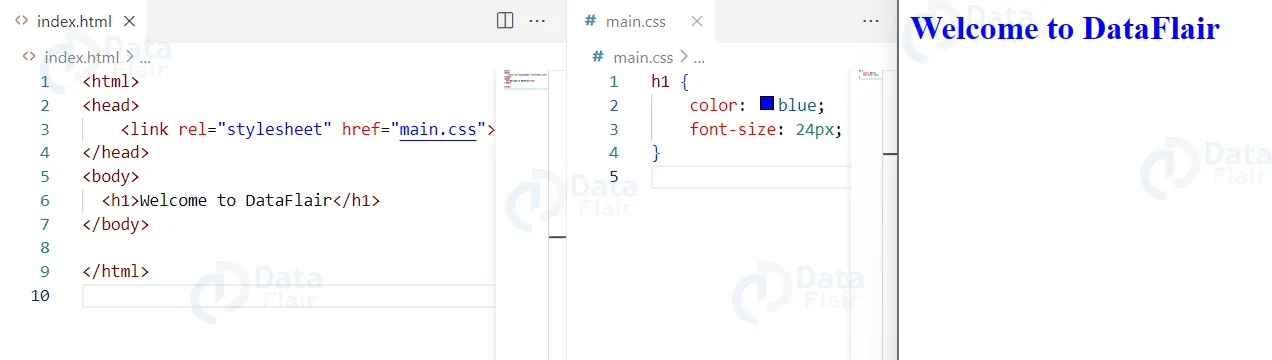
In this example, the selector is “h1”, which selects all h1 elements on the webpage. The declaration block contains two declarations, one for color and one for font size. The value for color is “blue” and the value for font size is “24px”. This rule will make all h1 elements on the webpage blue and 24 pixels in size.
CSS also allows for multiple selectors to be grouped together, with the same declaration block applied to all of them. This is called a “grouping” and is done by separating the selectors with a comma.
HTML Code
<html>
<body>
  <h1>DataFlair in H1</h1>
  <h2>DataFlair in H2</h2>
  <h3>DataFlair in H3</h3>
</body>
</html>
CSS Code
h1, h2, h3 {
    color: blue;
    font-size: 24px;
}
Output
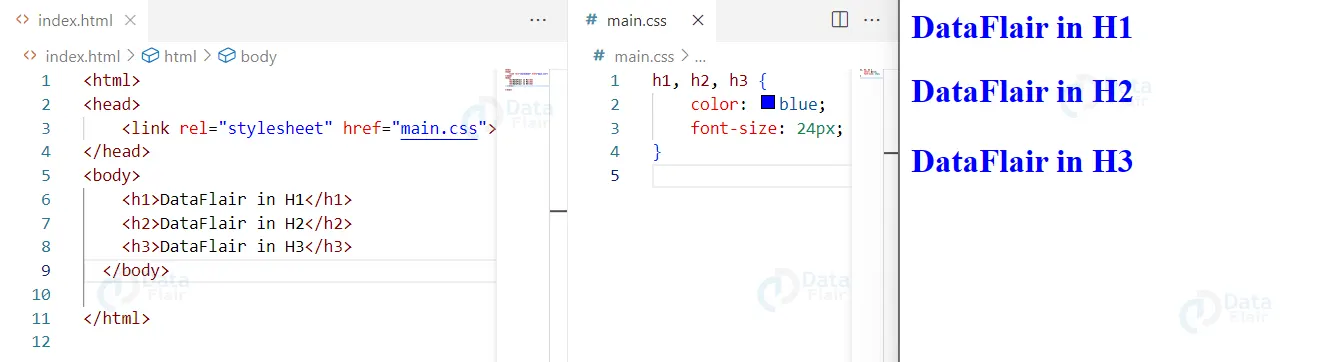
In this example, the declarations will be applied to all h1, h2, and h3 elements on the webpage.
CSS also allows for class and id selectors, which can apply styles to specific elements on the webpage. Class selectors are defined by a period (.) and id selectors are defined by a hash (#) symbol.
CSS also allows for pseudo-selectors, which can apply styles to elements based on their state or position in the document.
CSS syntax in action
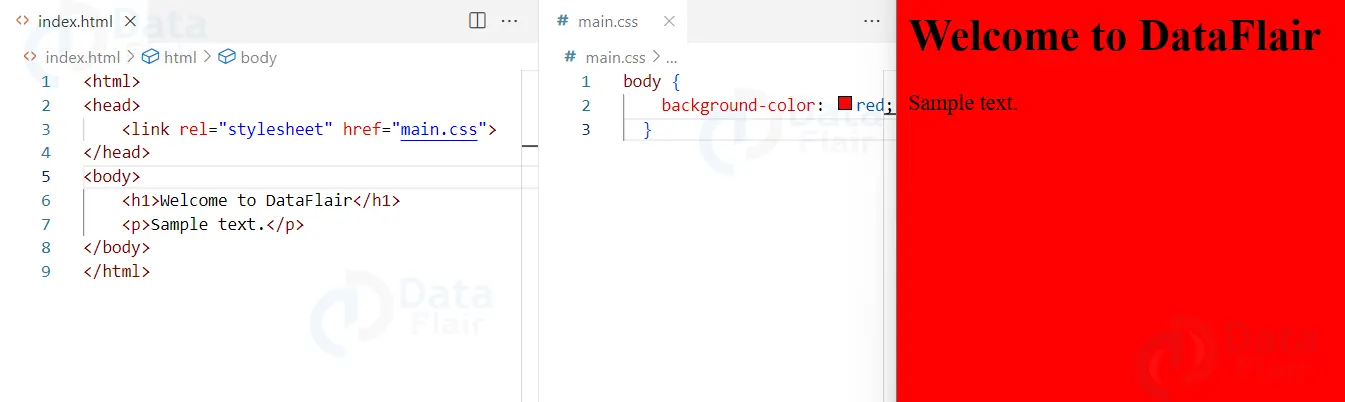
1. Setting the background color of a webpage:
HTML Code
<html>
<head>
    <link rel="stylesheet" href="">
</head>
<body>
    <h1>Welcome to DataFlair</h1>
    <p>Sample text.</p>
</body>
</html>
CSS Code
body {
  background-color: red;
}
Output
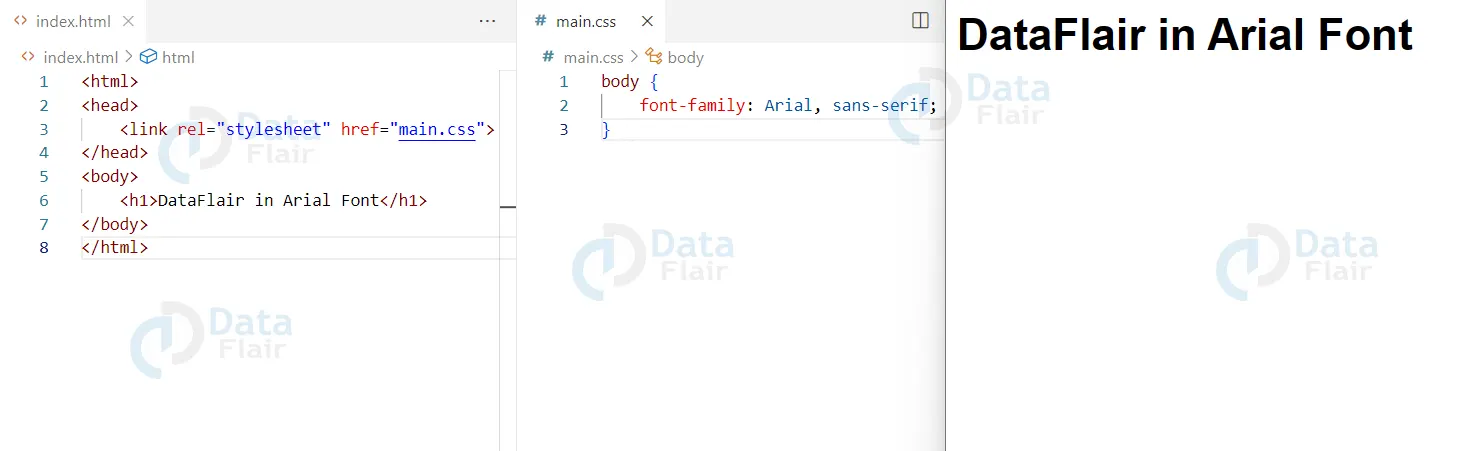
2. Changing the font of a webpage:
HTML Code
<html>
<head>
<style>
body {
    font-family: Arial, sans-serif;
}
</style>
</head>
<body>
    <h1>DataFlair in Arial Font</h1>
</body>
</html>
CSS Code
body {
    font-family: Arial, sans-serif;
}
Output
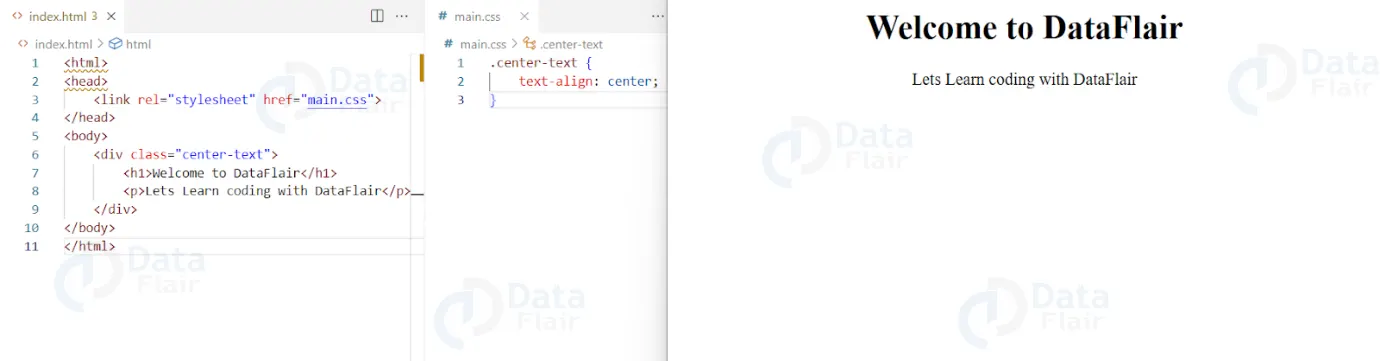
3. Creating a class to center text:
HTML Code
<html>
<head>
<style>
.center-text {
    text-align: center;
}
</style>
</head>
<body>
    <div class="center-text">
        <h1>Welcome to DataFlair</h1>
        <p>Lets Learn coding with DataFlair</p>
    </div>
</body>
</html>
CSS Code
.center-text {
    text-align: center;
}
Output
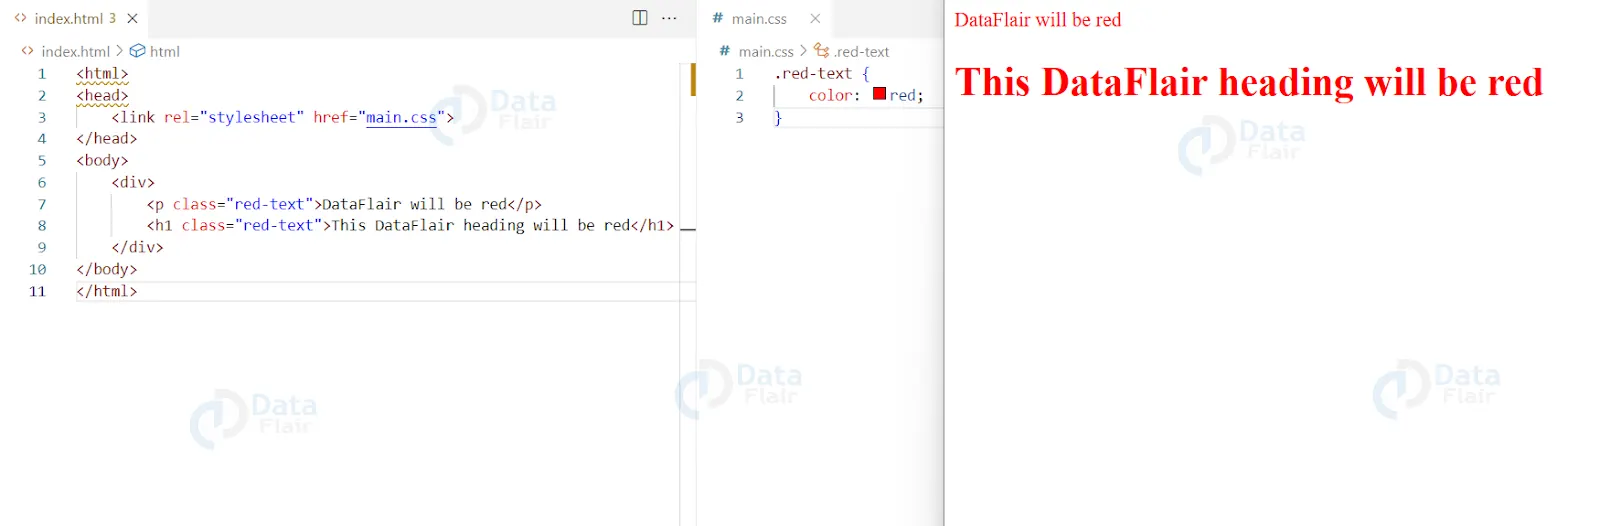
4. Creating a class to change the color of the text to read:
HTML Code
<html>
<head>
<style>
.red-text {
    color: red;
}
</style>
</head>
<body>
    <div>
    	<p class="red-text">DataFlair will be red</p>
    	<h1 class="red-text">This DataFlair heading will be red</h1>
    </div>
</body>
</html>
CSS Code
.red-text {
    color: red;
}
Output
5. Creating an id to change the font size of an element:
HTML Code
<html>
<head>
<style>
#large-text {
    font-size: 36px;
}
</style>
</head>
<body>
    <p id="large-text">DataFlair will be large</p>
    <h1 id="large-text">This DataFlair heading will be large</h1>
</body>
</html>
CSS Code
#large-text {
    font-size: 36px;
}
Output

6. Creating a hover effect for links:
HTML Code
<html>
<head>
    <style>
        a:hover {
            color: green;
            text-decoration: underline;
        }
    </style>
</head>
<body>
    <a href="#">Hover over this DataFlair link</a>
</body>
</html>
CSS Code
a:hover {
    color: green;
    text-decoration: underline;
}
Output
Before Hover:
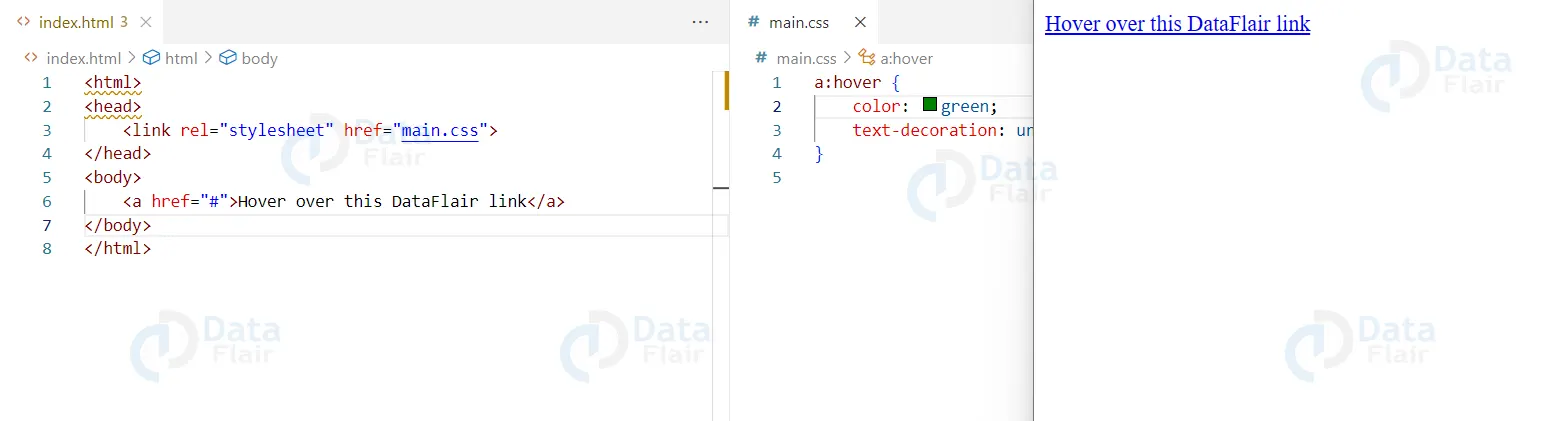
After Hover:
#IMAGE#
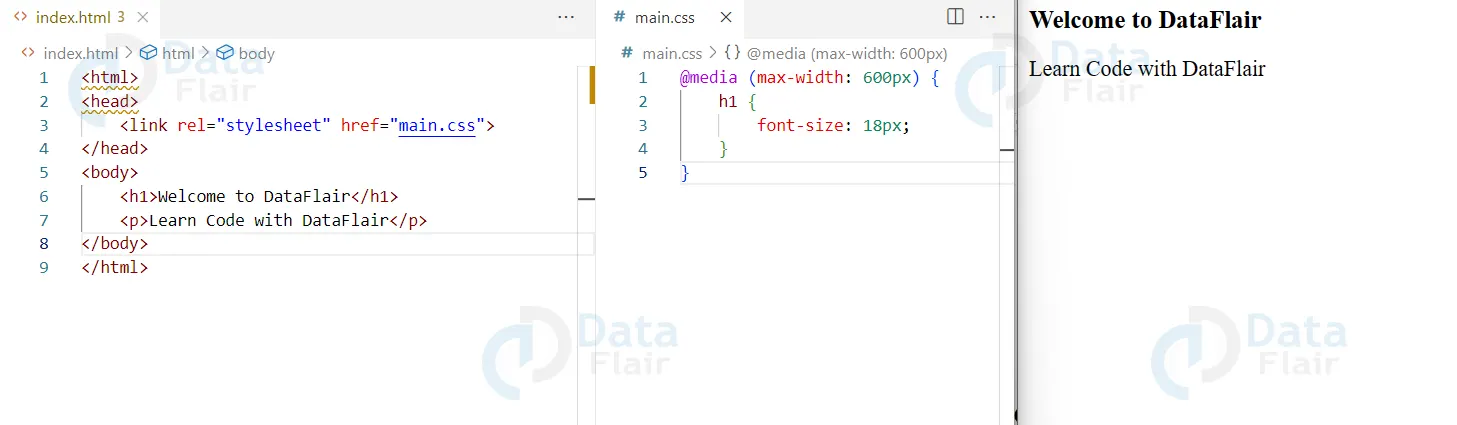
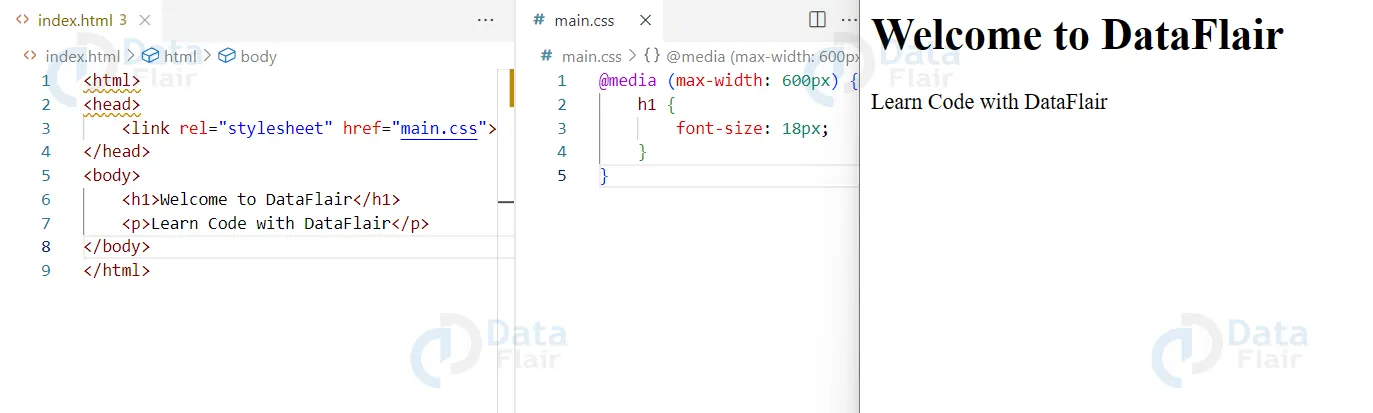
7. Using a media query to change the font-size of an element when the screen width is less than 600px:
HTML Code
<html>
<head>
    <style>
        @media (max-width: 600px) {
            h1 {
                font-size: 18px;
            }
        }
    </style>
</head>
<body>
    <h1>Welcome to DataFlair</h1>
    <p>Learn Code with DataFlair</p>
</body>
</html>
CSS Code
@media (max-width: 600px) {
    h1 {
        font-size: 18px;
    }
}
Output
Bigger screen:
Smaller screen:
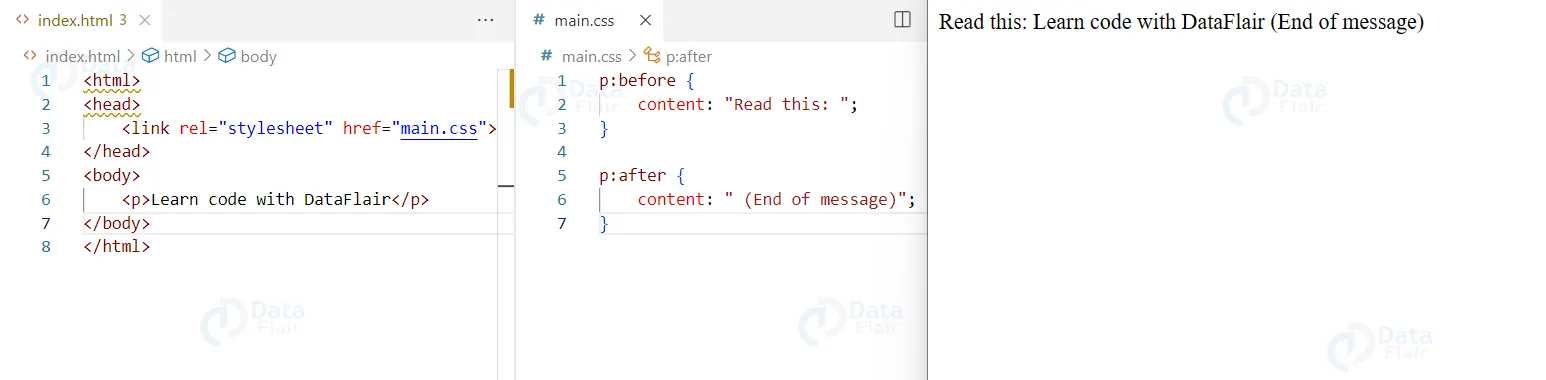
8. Using :before and :after pseudo-elements to add content before and after an element:
HTML Code
<html>
<head>
    <style>
        p:before {
            content: "Read this: ";
        }

        p:after {
            content: " (End of message)";
        }
    </style>
</head>
<body>
    <p>Learn code with DataFlair</p>
</body>
</html>
CSS Code
p:before {
    content: "Read this: ";
}

p:after {
    content: " (End of message)";
}
Output
Conclusion on CSS Syntax
In this article by DataFlair we can conclude by saying that CSS is a powerful language that can be used to control the presentation of web pages. Its syntax consists of selectors, which specify which elements the styles will be applied to, and declaration blocks, which contain the styles themselves. Understanding the basic syntax of CSS is essential for anyone looking to style web pages.
Did we exceed your expectations?
If Yes, share your valuable feedback on Google

