Facebook
 Twitter
 YouTube
 RSS Feeds
NZXT Apollo Case Review
Installing your hardware in this case takes on a new twist, as NZXT threw in the addition of a tool less design. All that you are required to actually screw down if is your motherboard and Power Supply. After those are installed, put your screwdrivers and socket drivers away!


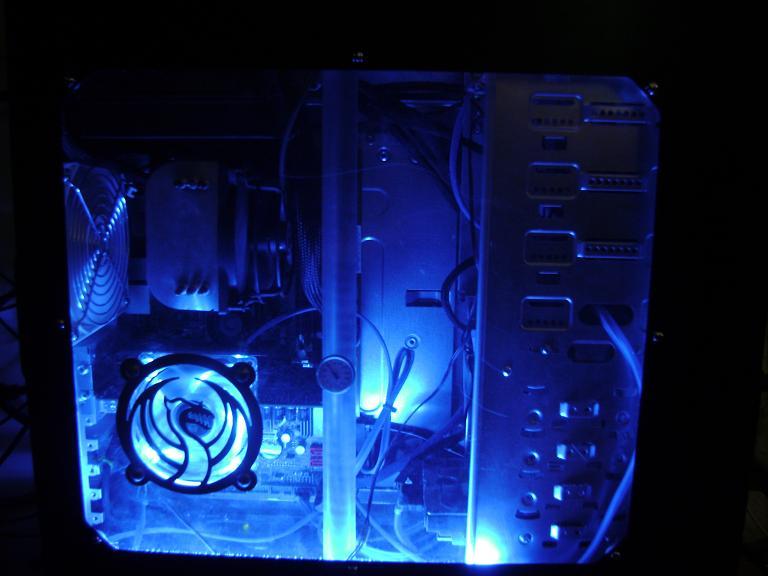
Simply slide your drives into the bays and then slide the lock to the �closed� position, which will secure all of your hardware. First thing I installed, like in any new case, is the power supply. Using the standard four screws, this is just like installing a normal power supply. Next came the motherboard. Align the standoffs in the correct position, dropping the motherboard in, and secure it with the supplied hardware. Something to note, the onboard Karajan Audio module on my DFI motherboard did not clear with the rear 120mm fan on this case. This was fixed by taking the fan out and cutting a small notch in it so that the Audio PCB could clear. Next came the optical and hard drives. Pop the quick release tabs into your hard drive, slide them into the slots and snap the locks closed. And last but not least, my video card. Open the quick release, snap my card in, then lock it in place with the snap on. Installation was a breeze, and left me feeling my card was nice and safe.


Only thing left to do is wire this baby up. After checking my mounting and wiring job twice, it is now time to fire this computer up in its new home.
Specifications| Model | Apollo |
| Case Type | Mid Tower Full Size Steel Chassis |
| Cooling System | Front 1x120mm (Optional) Rear 1x120mm FAN Side Panel 1x120mm Blue LED |
| Drive Bays | 10 Drive Bays 5 External 5.25� 1 External 3.5� 4 Internal 3.5� Screw less Rail Design |
| Material(s) | SECC Steel Chassis |
| Expansion Slots | 7 |
| Power Supply | 400 Watt PS2 ATX 12V (Optional) |
| Weight | 7.2Kgs (No Power Supply) |
| Motherboard Support | Motherboards: ATX, Micro-ATX, Baby ATX |