Photoshop CS3: Scanning Images
Photoshop CS3: Scanning Images
Photoshop CS3: Scanning Images

Create successful ePaper yourself
Turn your PDF publications into a flip-book with our unique Google optimized e-Paper software.
<strong>Photoshop</strong> <strong>CS3</strong>: <strong>Scanning</strong> <strong>Images</strong><br />
This handout explains the steps for scanning an image into <strong>Photoshop</strong> <strong>CS3</strong>. <strong>CS3</strong> is available for installation at the OHS<br />
and a few other limited locations.<br />
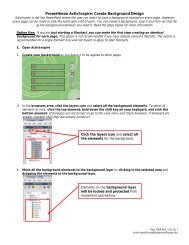
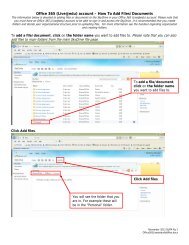
1. Open <strong>Photoshop</strong>.<br />
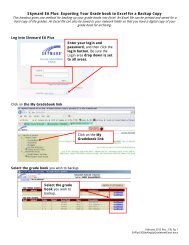
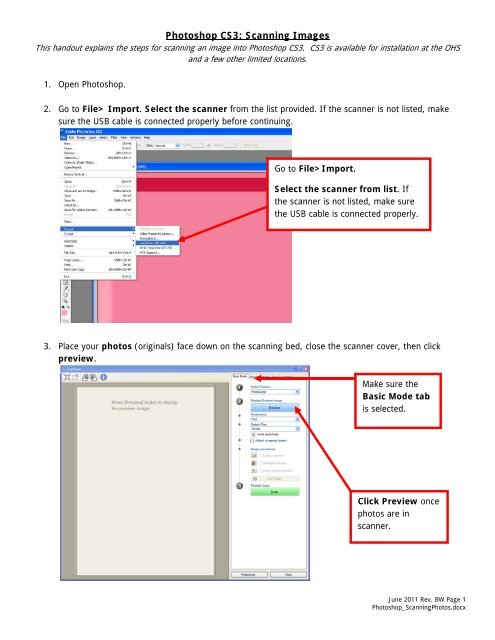
2. Go to File> Import. Select the scanner from the list provided. If the scanner is not listed, make<br />
sure the USB cable is connected properly before continuing.<br />
Go to File>Import.<br />
Select the scanner from list. If<br />
the scanner is not listed, make sure<br />
the USB cable is connected properly.<br />
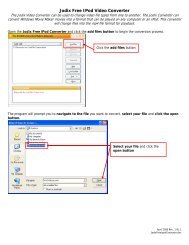
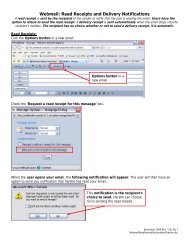
3. Place your photos (originals) face down on the scanning bed, close the scanner cover, then click<br />
preview.<br />
Make sure the<br />
Basic Mode tab<br />
is selected.<br />
Click Preview once<br />
photos are in<br />
scanner.<br />
June 2011 Rev. BW Page 1<br />
<strong>Photoshop</strong>_<strong>Scanning</strong>Photos.docx
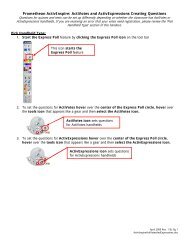
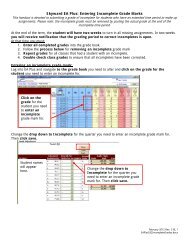
4. Once the scanner is done, you will see a Preview of your photos. If you would like to change the<br />
contrast or lighting, use the image correction boxes on the right toolbar to make changes.<br />
Ensure this is set to<br />
Photo (color) for color<br />
photos.<br />
If the pre-selected marquee is not the<br />
desired scan area, click and drag the<br />
marquee (broken moving outline) to the<br />
desired position.<br />
Make color changes used<br />
Image Correction Tools.<br />
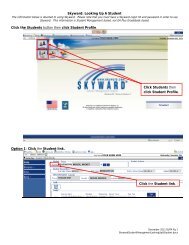
5. Once you are satisfied with the selections (marquee, any photo corrections), click Scan.<br />
6. Once the scan is complete, a box may appear and prompt you to scan additional images. Select<br />
Retouch and save the image and Click OK.<br />
Make sure Retouch and<br />
save the image is selected<br />
and click ok.<br />
June 2011 Rev. BW Page 2<br />
<strong>Photoshop</strong>_<strong>Scanning</strong>Photos.docx